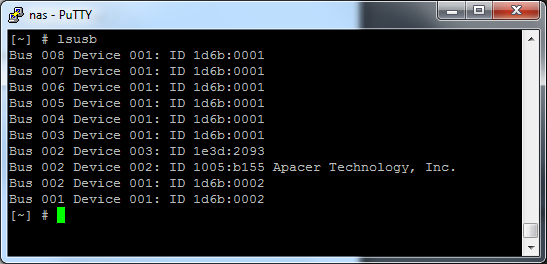
Plug the USB stick into the Qnap. Then in a terminal, as root, do an lsusb to confirm that the USB drive has been recognised.

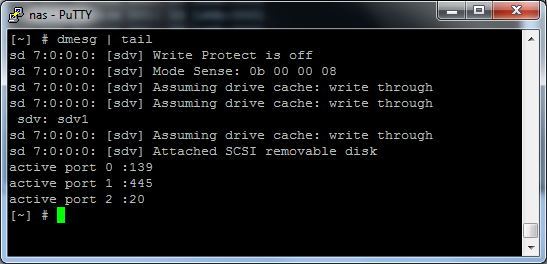
To find out what device name it has been assigned, do a dmesg | tail. This will print the latest lines from the kernel log, which should contain information about the inserted USB drive:

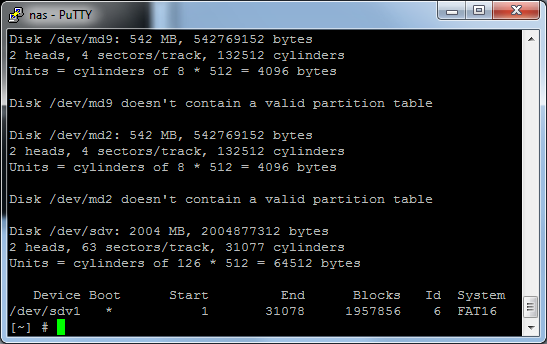
fdisk -l, which shows all connected drives, can also be used to find the right device name. The USB drive can be recognised by its size. In this case, it is a 2 GB one:

If the USB drive is already formatted with e.g. NTFS, it has probably been mounted automatically, in which case it should be unmounted. You can check this with the df command:

Once we know the name of the drive and it is unmounted, we can create a new linux partition using fdisk:
- If for example the device is sdv1, do an fdisk /dev/sdv1
- type d to delete any existing partitions.
- Type n to create a new partition.
- Make it primary and first
- Go with the defaults when prompted for start and end cylinder
- Press t to change the filesystem to linux (number 83)
- Type w to write the changes to the disk and exit
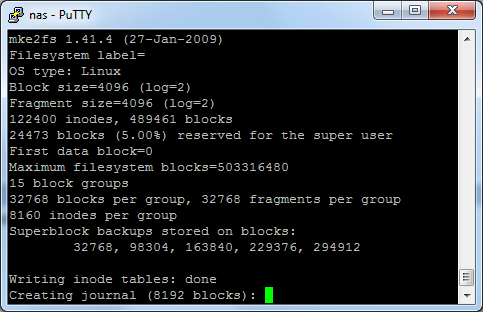
Finally, format the partition with the ext3 filesystem:
mke2fs -j /dev/sdv1

Now the partion is formatted and it can be mounted again:
mount /dev/sdv1
The USB drive is now ready for use 🙂